Grandview’s walls have seen a lot. Cracks, holes, and entire sections of missing plaster — souvenirs from decades of seasonal expansion & contraction, repairs, and questionable decisions. Fixing them isn’t glamorous, but it’s foundational work. A home that feels like a home can’t have walls chock full of holes and cracks. And thus, we approach this project - prepping interior surfaces for paint, trim, and a second life.
Patching Plaster Walls
Old plaster walls tell stories. Every divot and fracture hints at something — water damage, nail holes from artwork, hairline marks from decades of footsteps and slammed doors. When we first moved in, I thought I’d be doing a few small patches. But that’s because the walls were covered in art the last time I saw them.
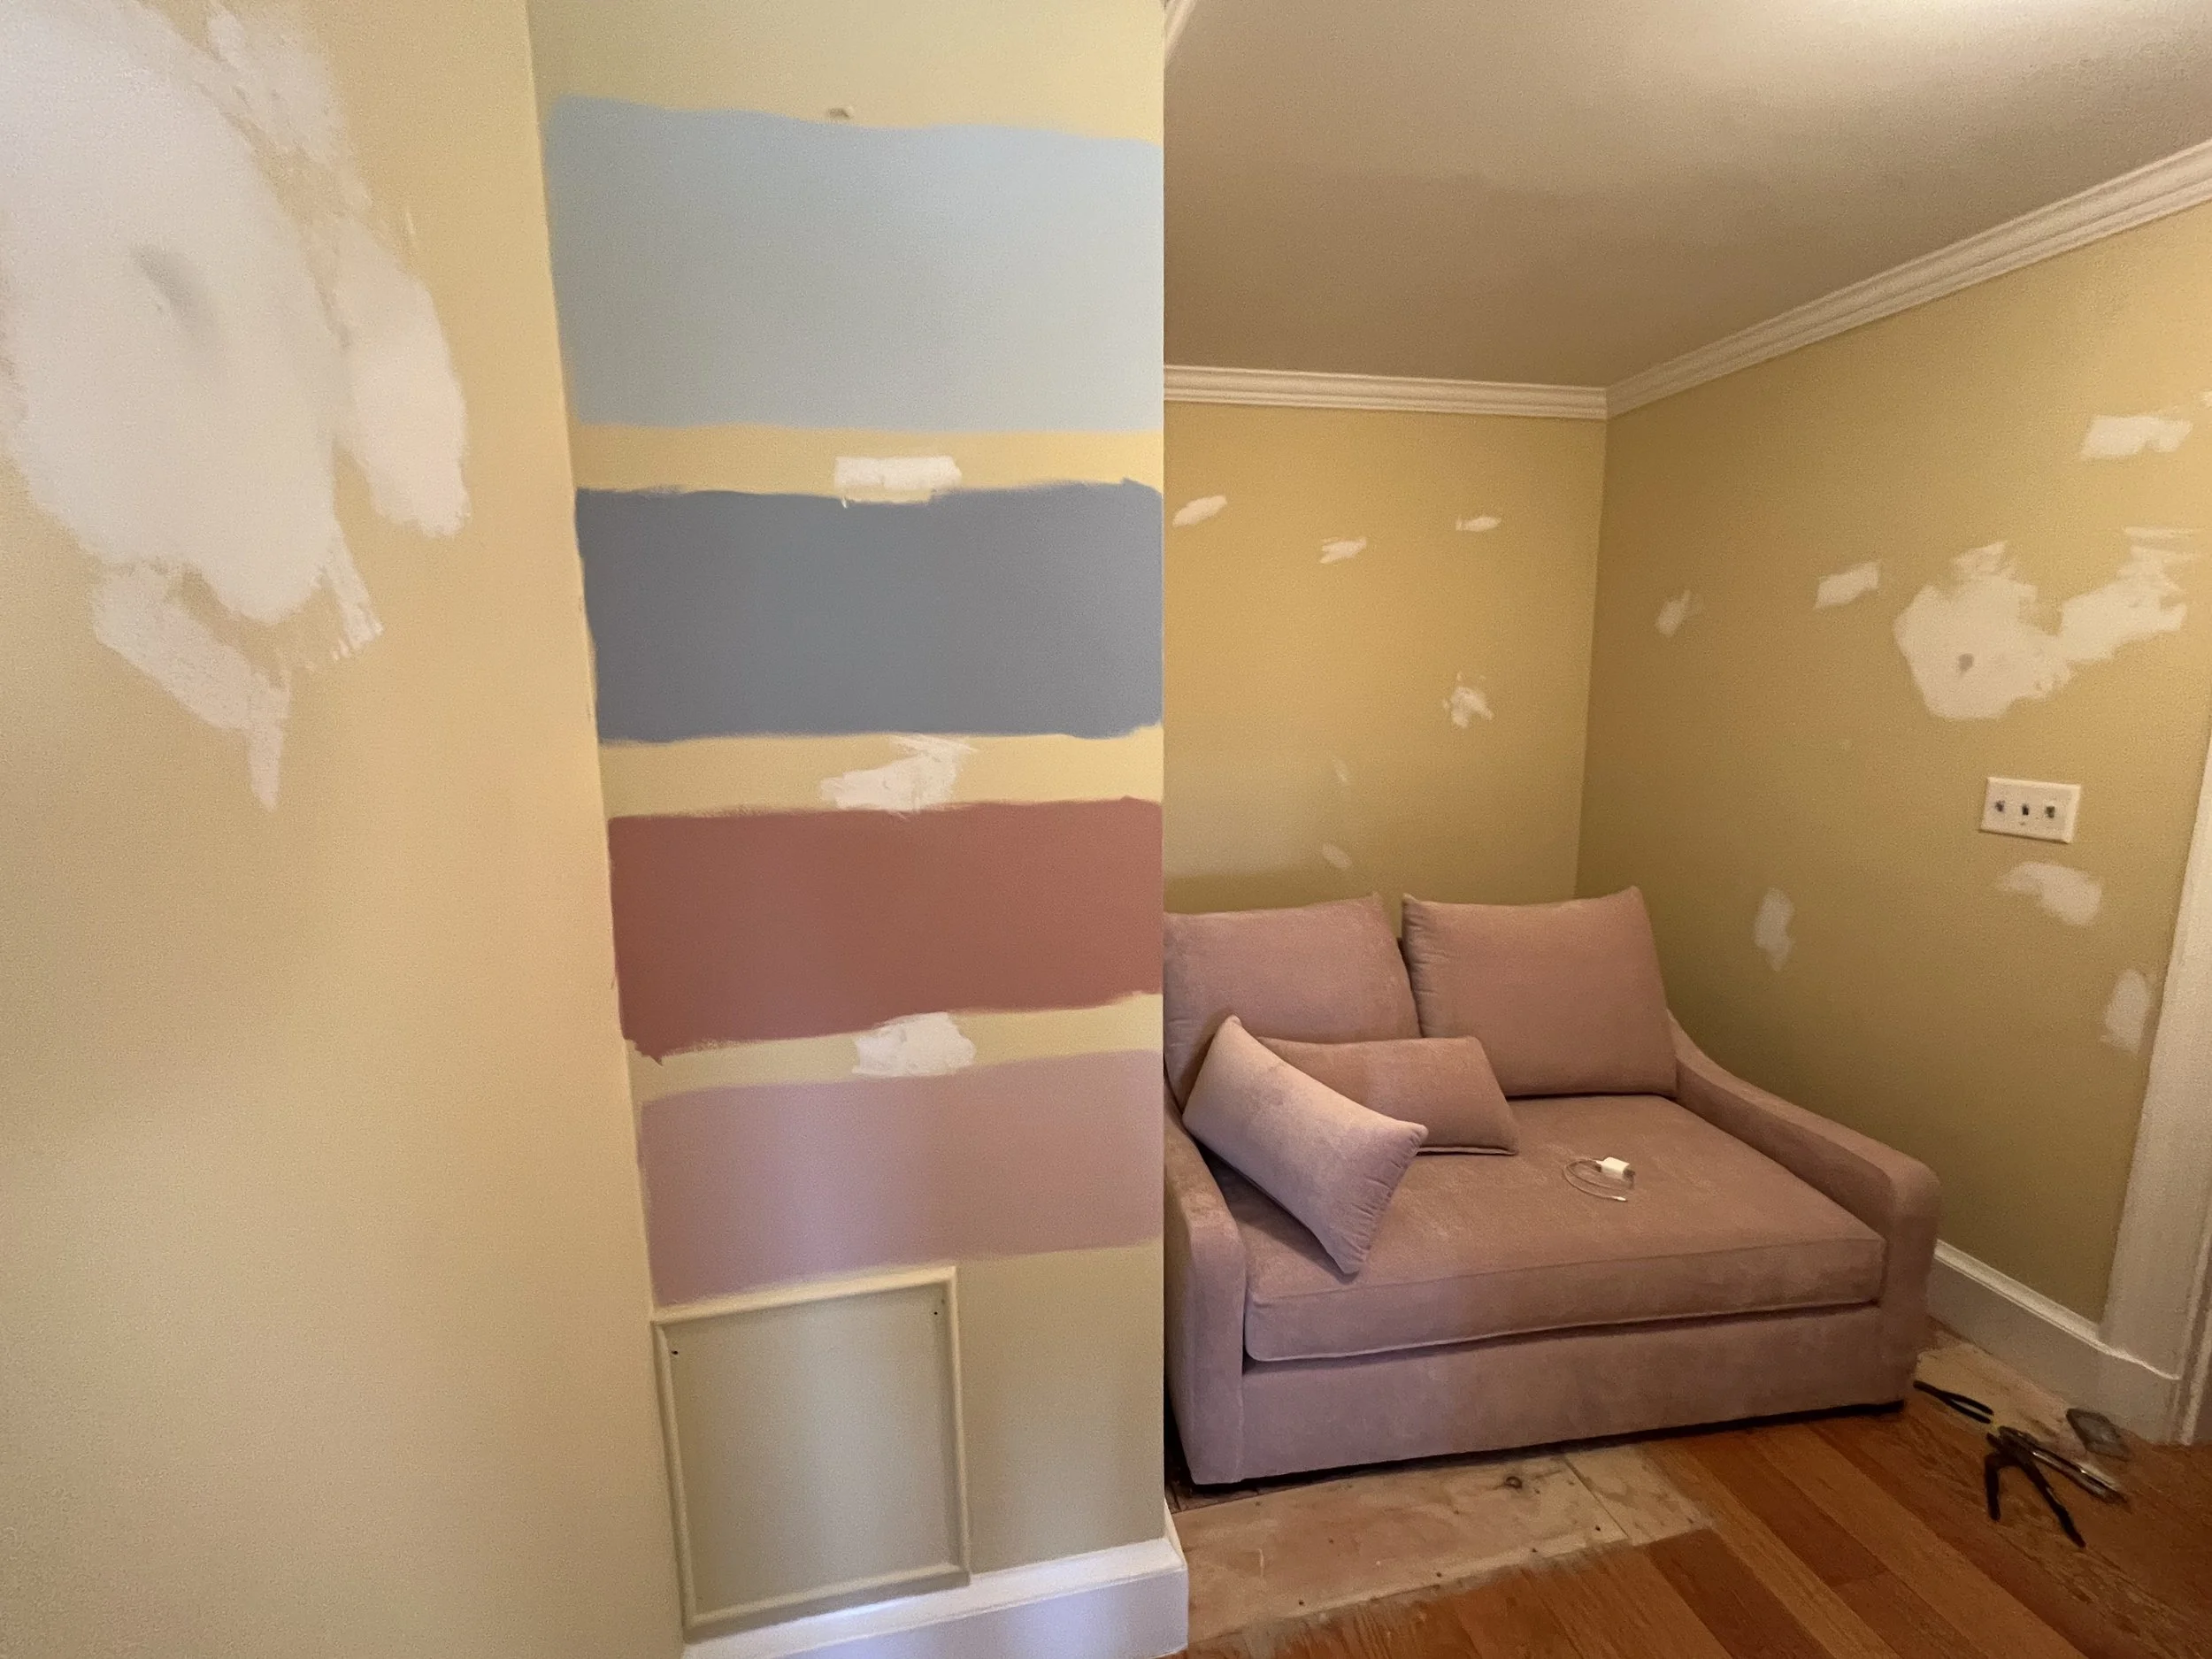
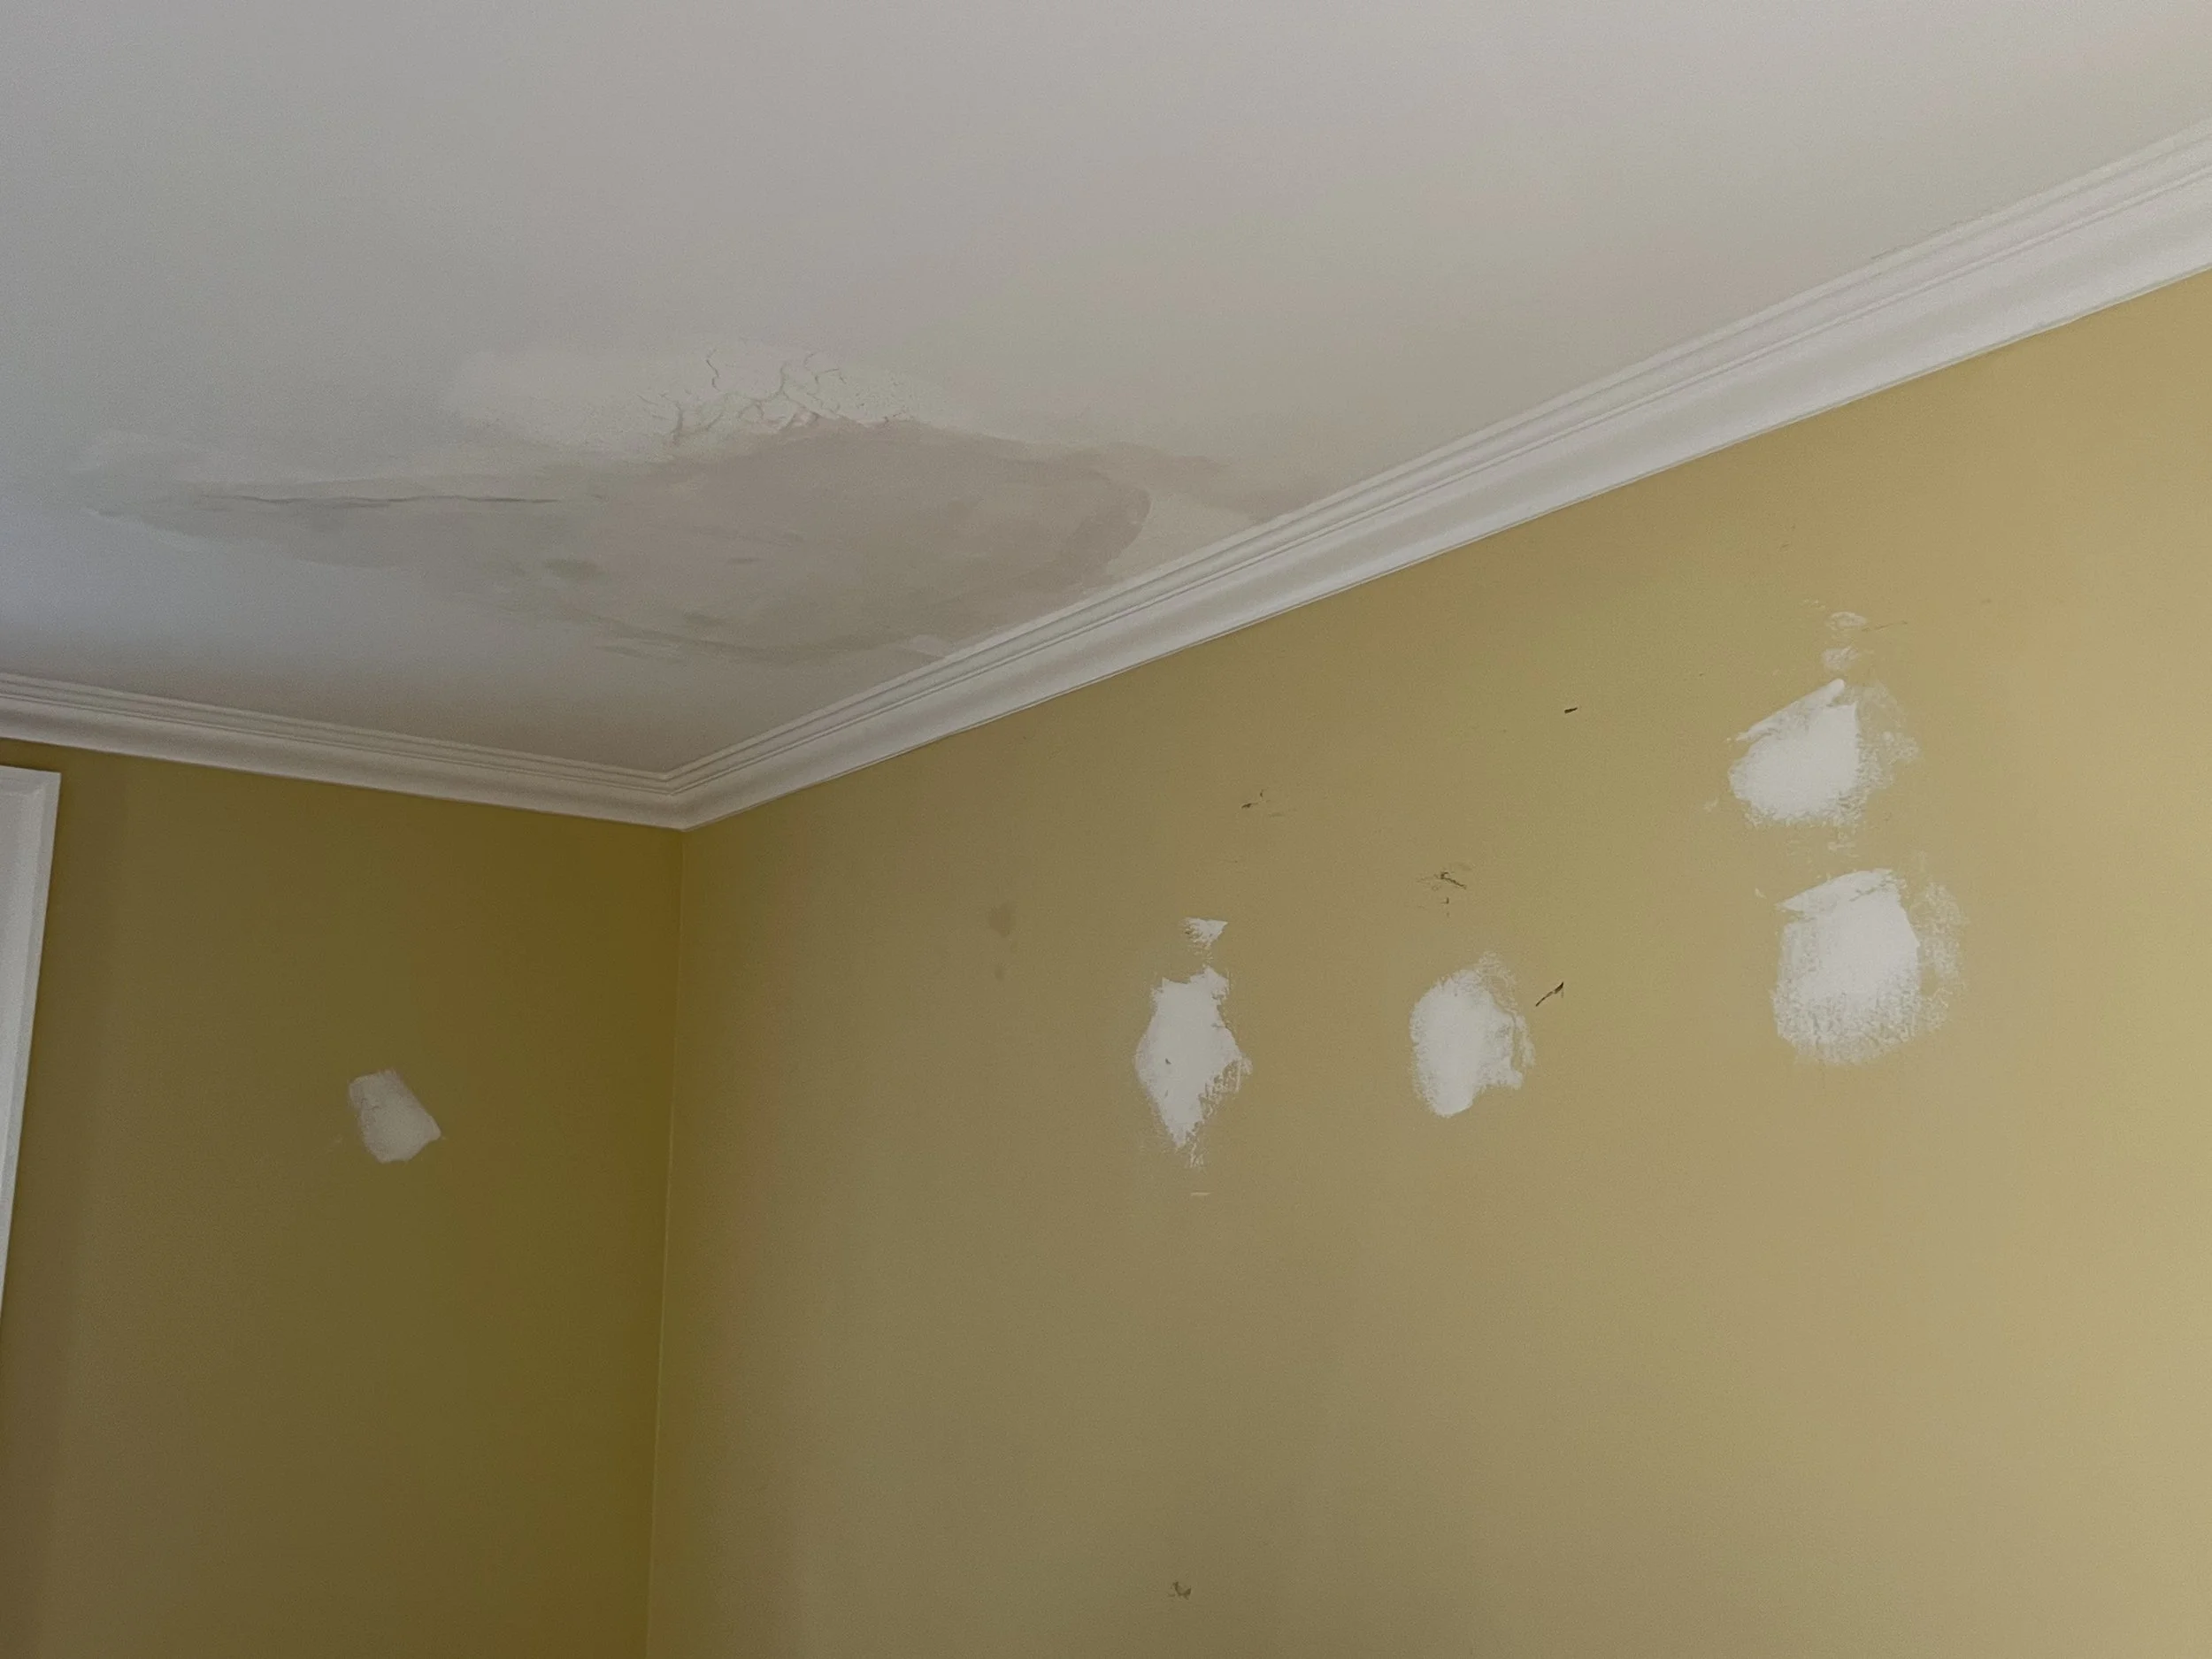
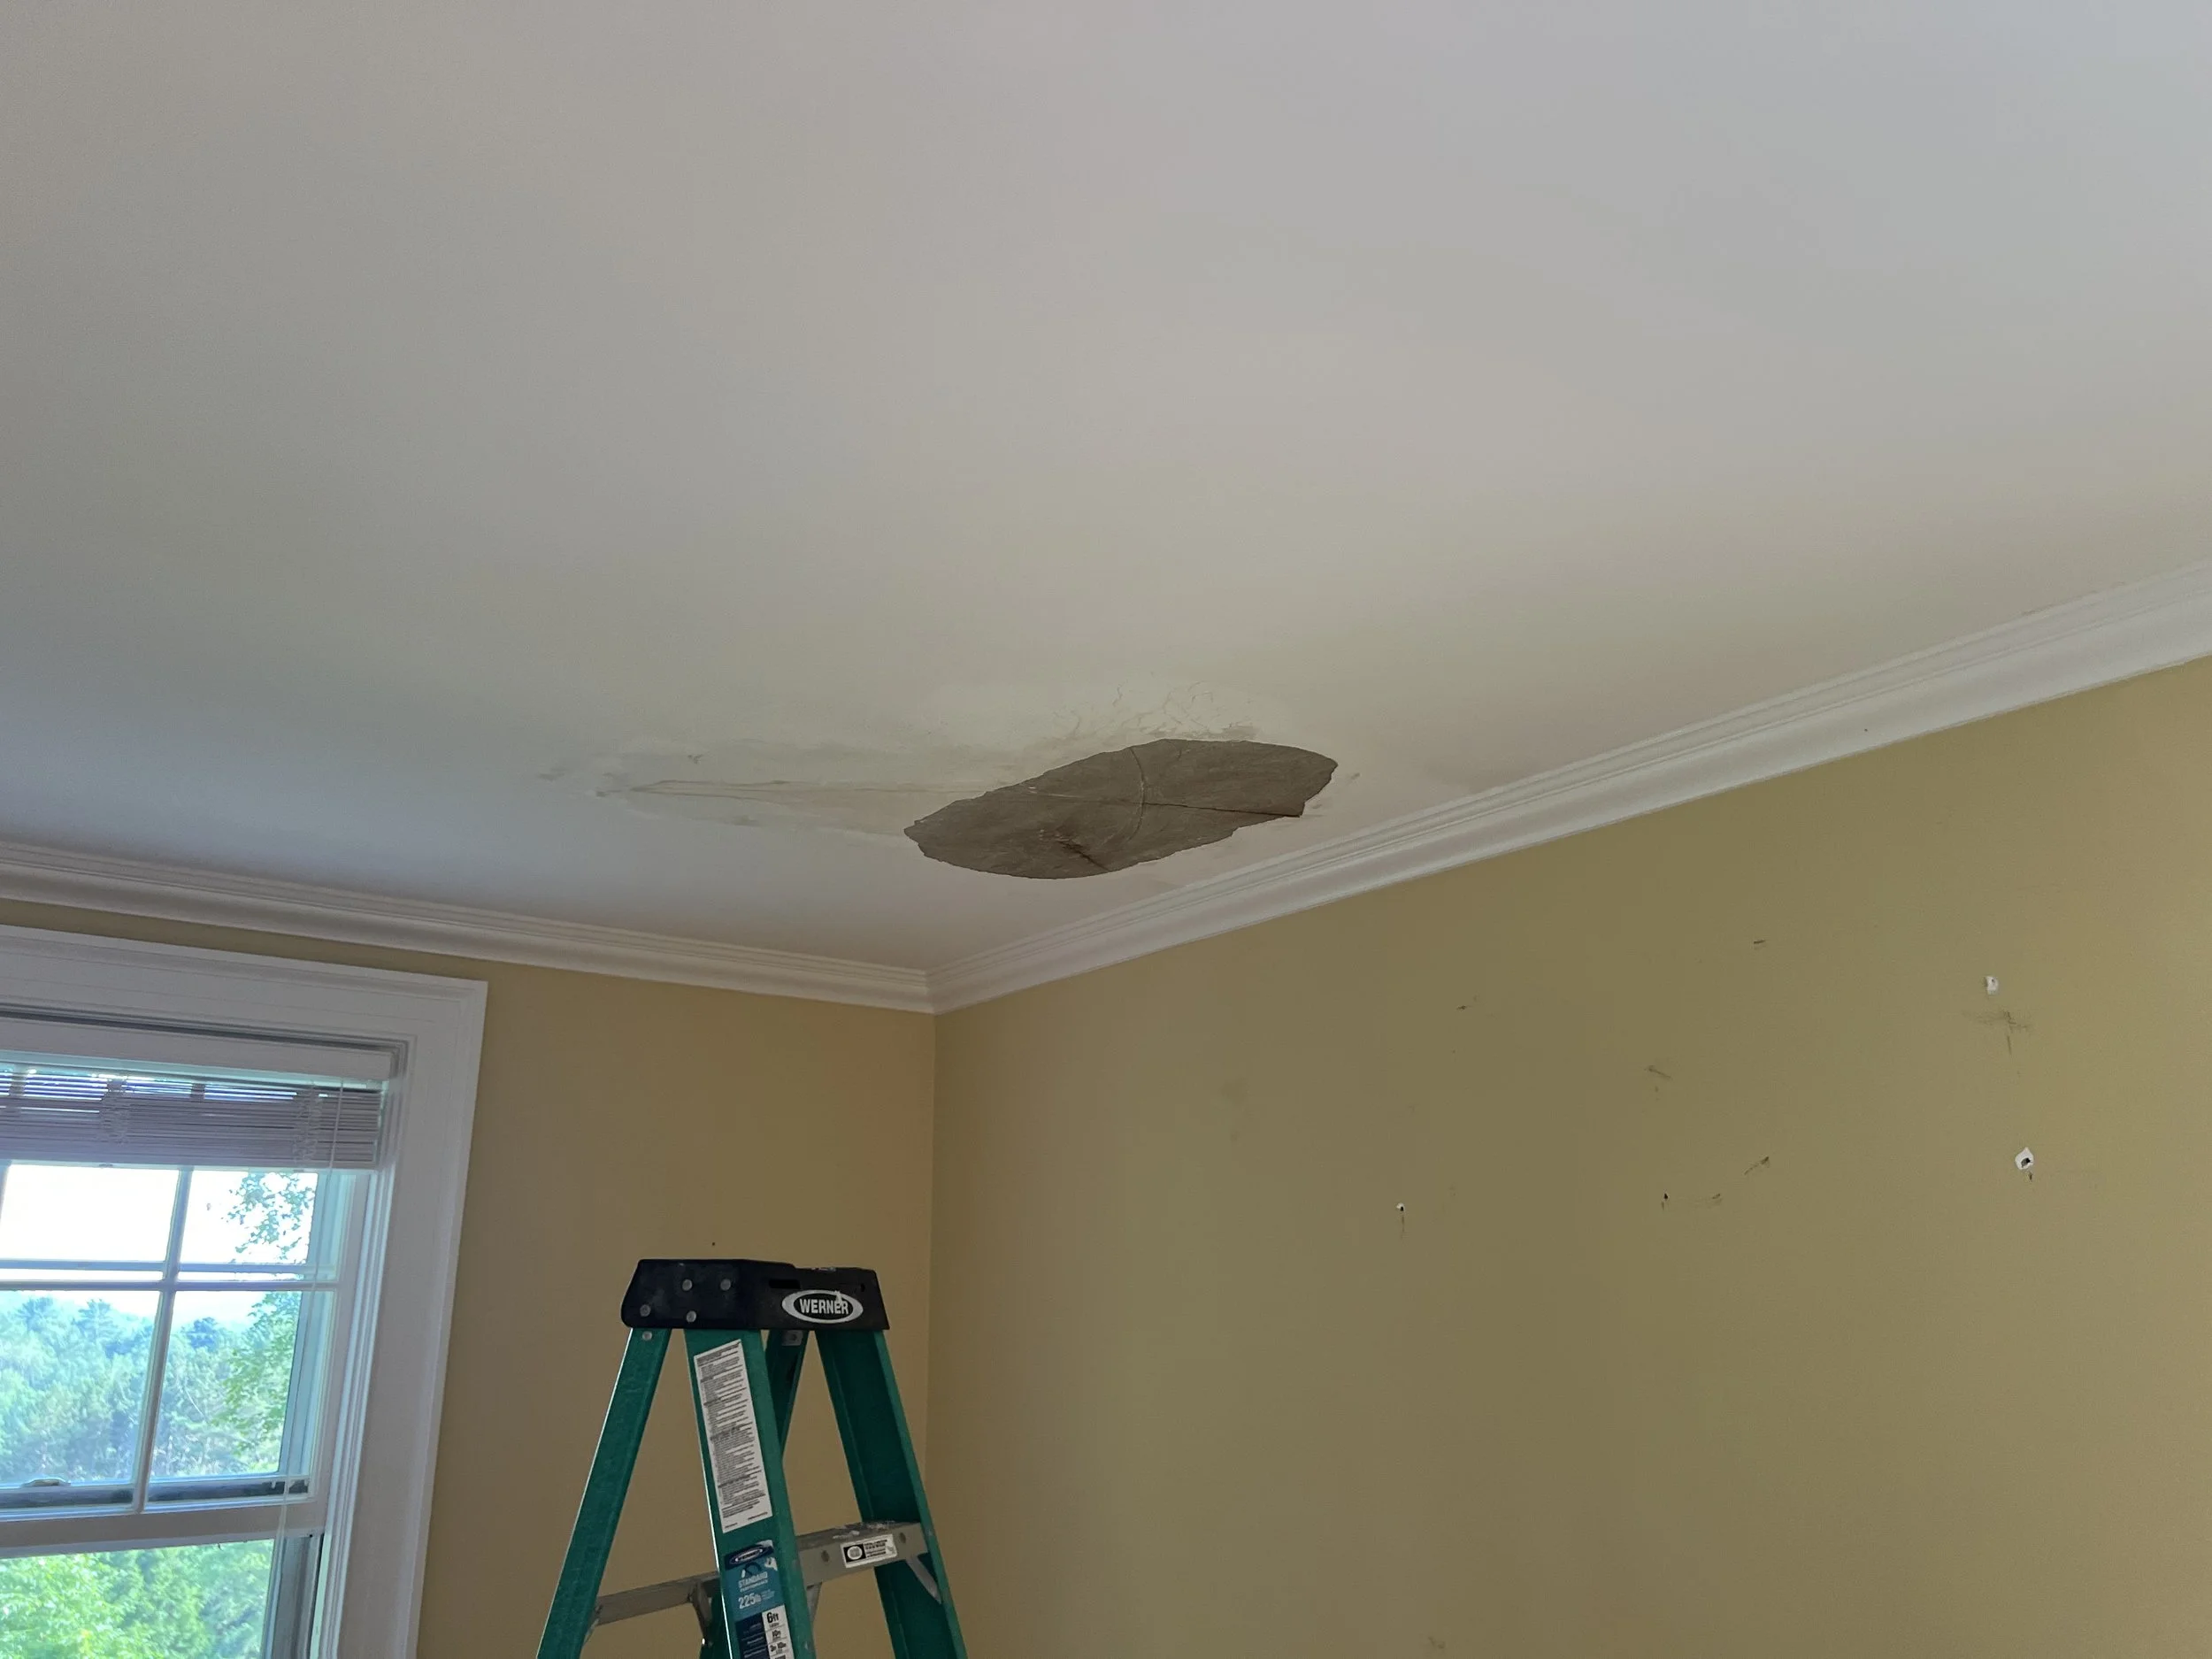
Once we took ownership and the rooms were stripped bare, the truth came out. The walls were pockmarked like the surface of the moon — dozens of old holes, anchors, and mismatched filler patches layered under the paint. Some had been “repaired” with toothpaste-grade spackle, most with nothing at all. You could trace the years by the height and density of the holes: gallery walls, kid art, maybe even the occasional impulsive hanging that was never quite right.
But what surprised me most was how still the structure was. Nothing had cracked. No stress lines, no movement fractures. Grandview doesn’t shift — it endures. The plaster itself is rock-solid. So what we were dealing with wasn’t structural fatigue; it was evidence of life. A reminder that over the years, everyone who lived here had made their own small marks and left them behind.
Once we started scraping and sanding, the project shifted from repair to restoration. The goal wasn’t to erase the history, but to make the walls whole again — ready for another generation of nail holes, just maybe not quite so many.
Field Notes
Process
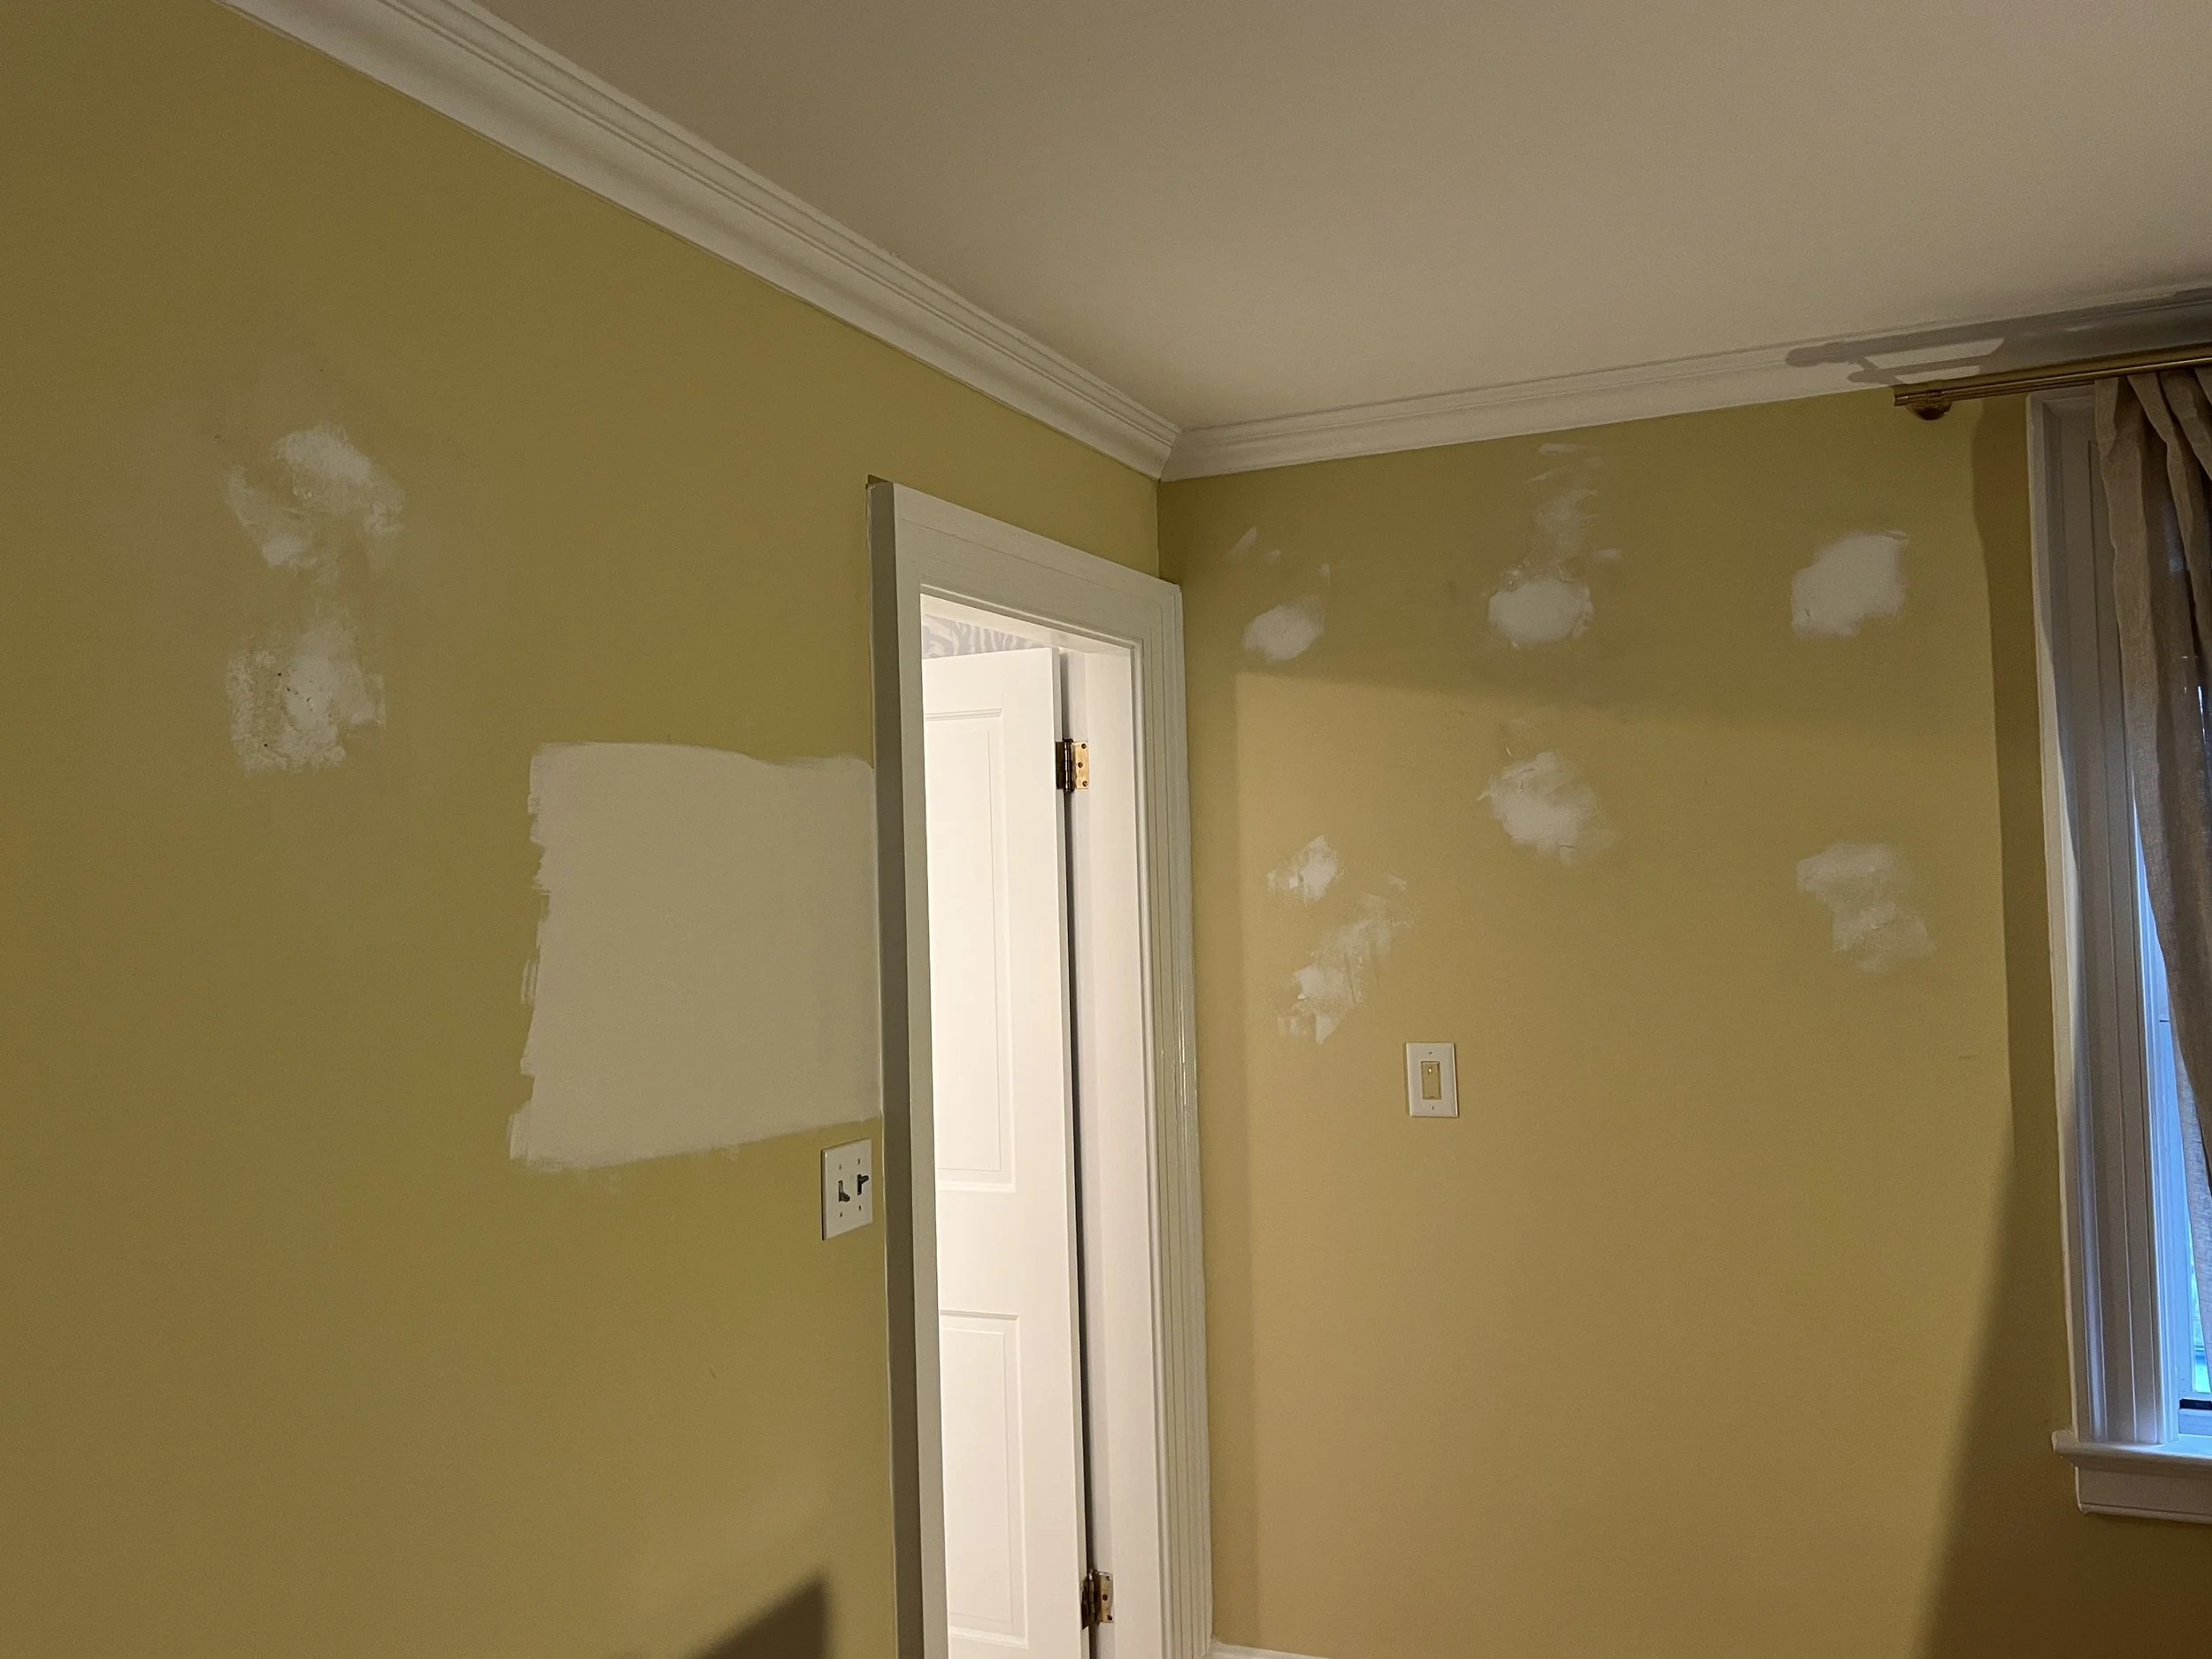
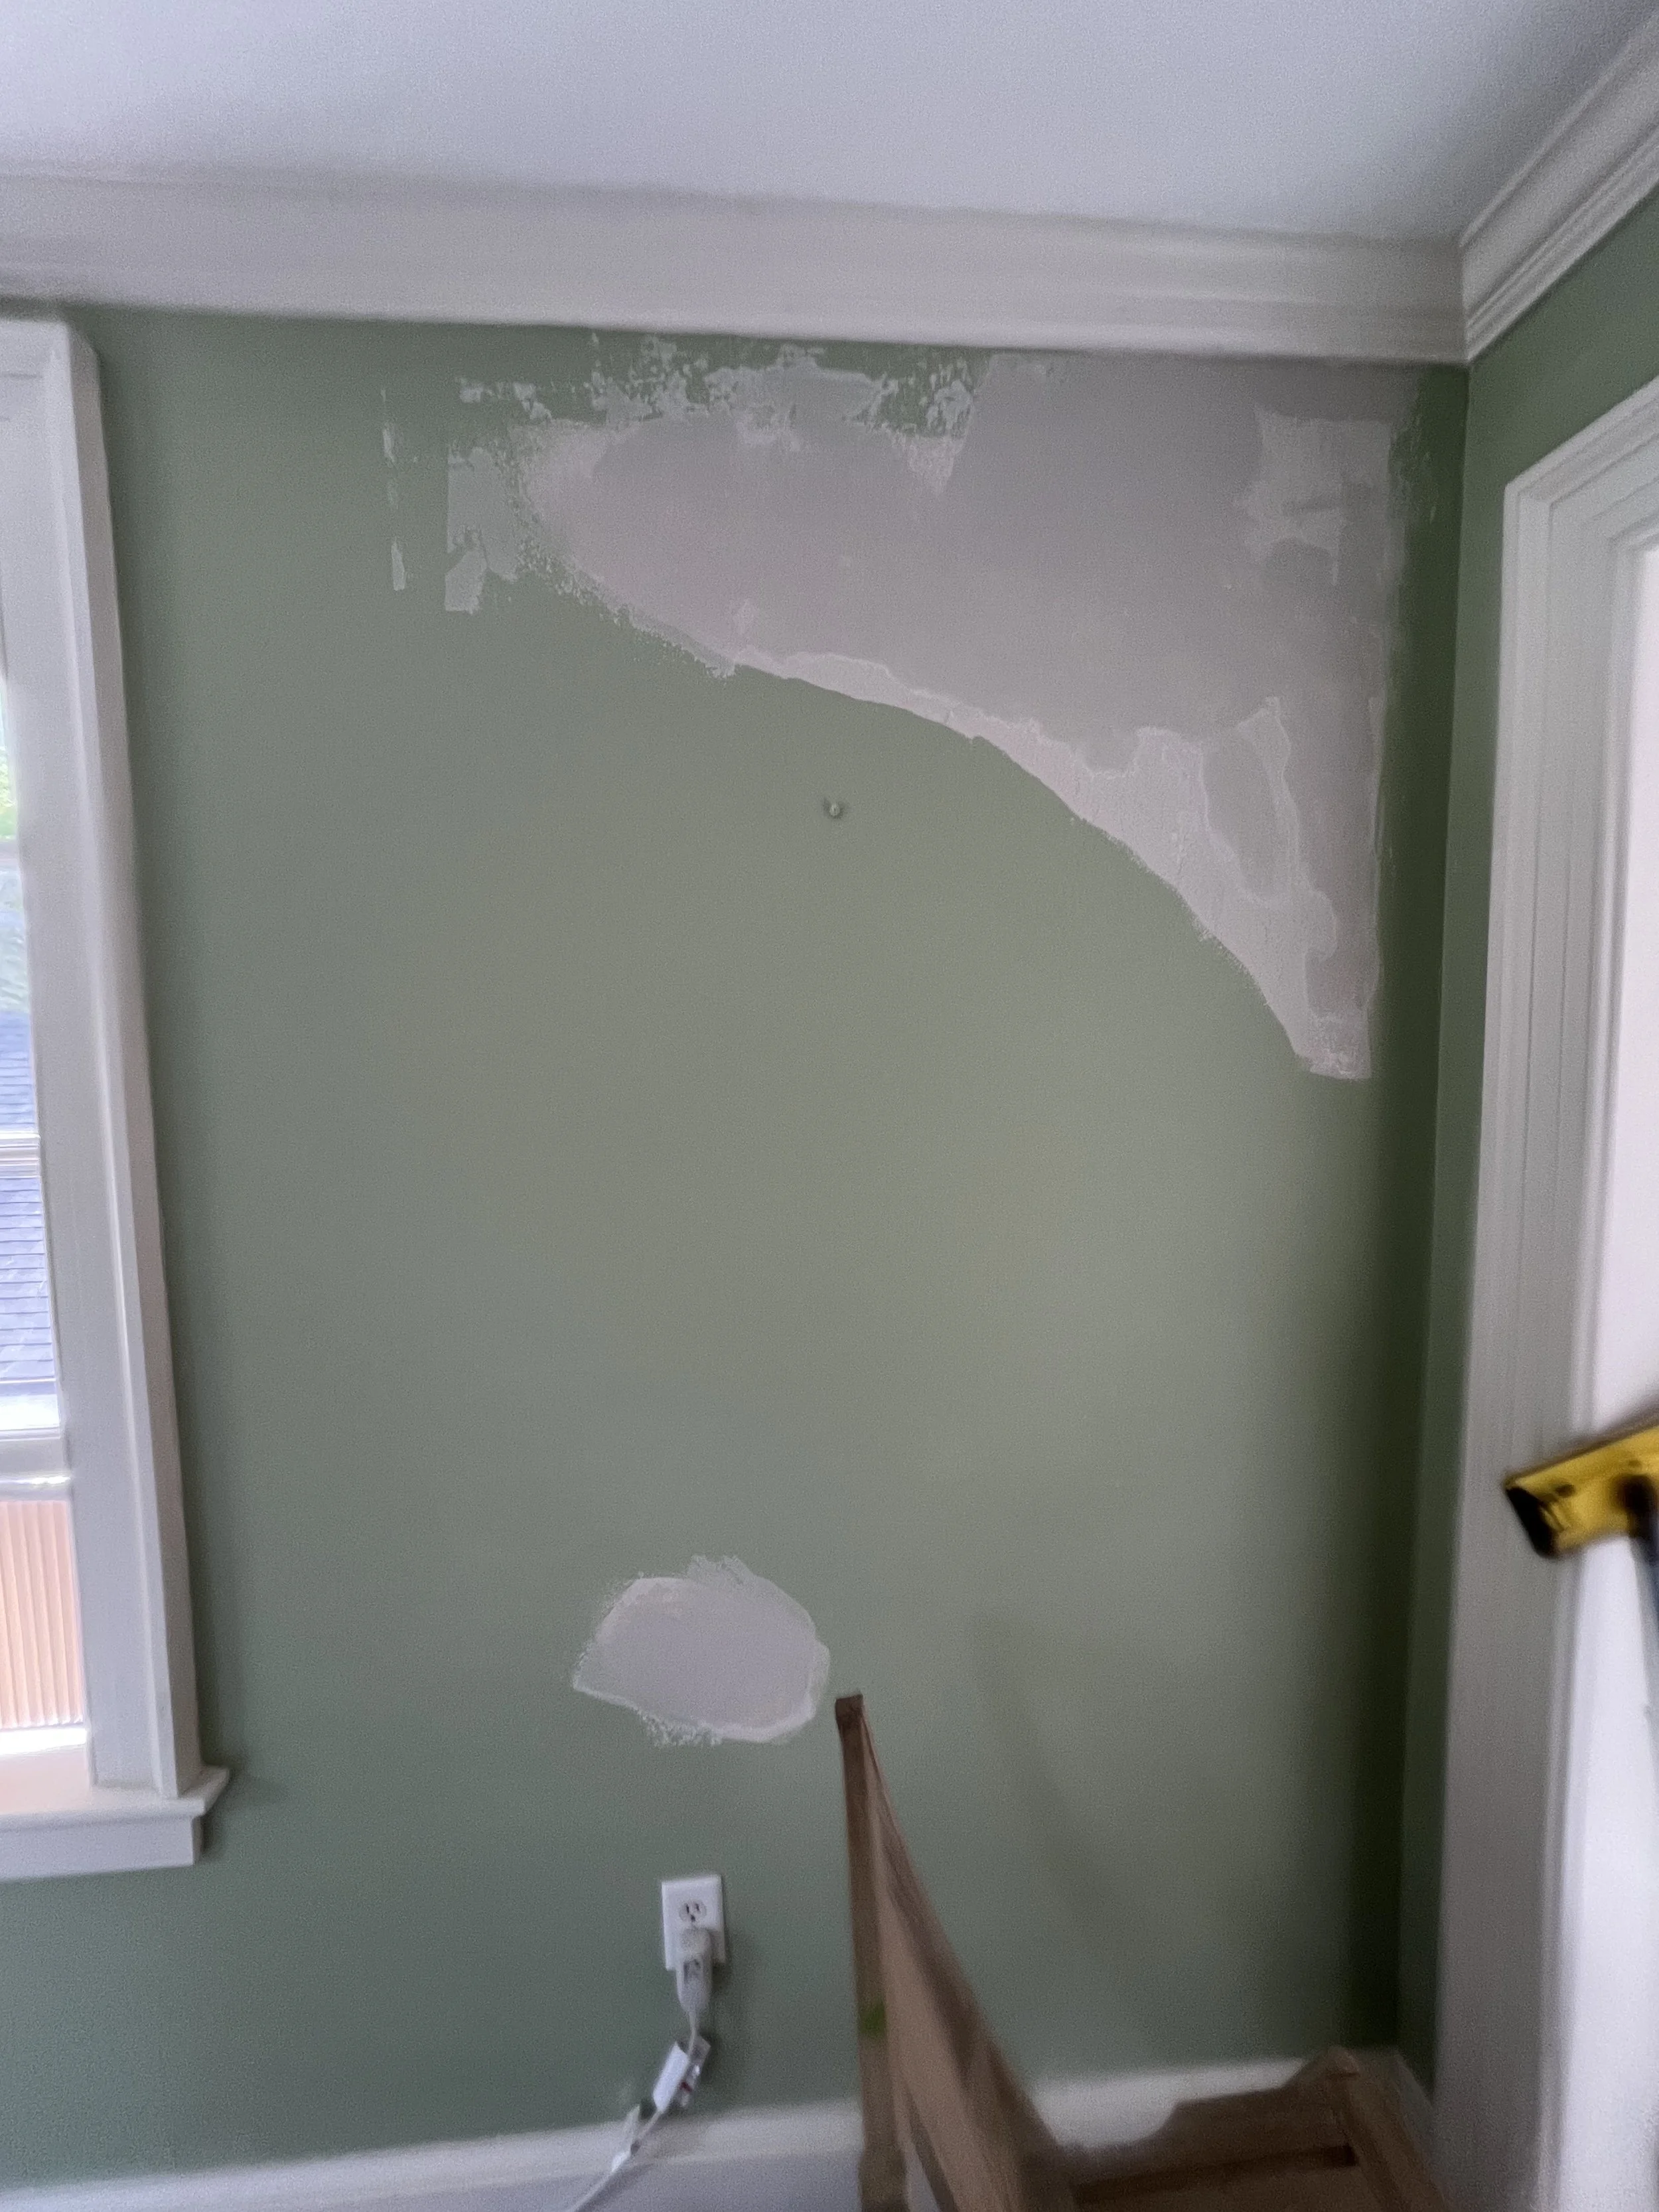
Patching plaster is a test of patience as much as skill. The key is knowing when to stop pulling at a thread before you make more work for yourself. Most of the damage here wasn’t deep — just repetitive. Hundreds of nail holes and a few larger spots where anchors had blown out small chunks of plaster.
The workflow became almost meditative: scrape away any loose material, vacuum the dust, undercut if necessary, and fill in layers. For the smaller holes, setting-type joint compound (hot mud) is perfect — it dries fast, hard, and blends cleanly with the surrounding plaster. For bigger voids, I used a combination of hot mud for structure and all-purpose compound for finishing.
The trick is to let each layer dry fully before sanding. A light feathering with 220-grit brings the patch flush, and the real magic happens after primer. Primer is what reveals truth — every imperfection, every divot you thought you nailed. Once flat and primed, the surface evens out beautifully and gives you a clean base for paint.
I’m not counting how many holes there are to patch, or how many I have patched already. That’s a recipe for discouragement. This is less like a repair project and more like restoration therapy — one small act of care repeated a few hundred times over. Forever, perhaps.
Result
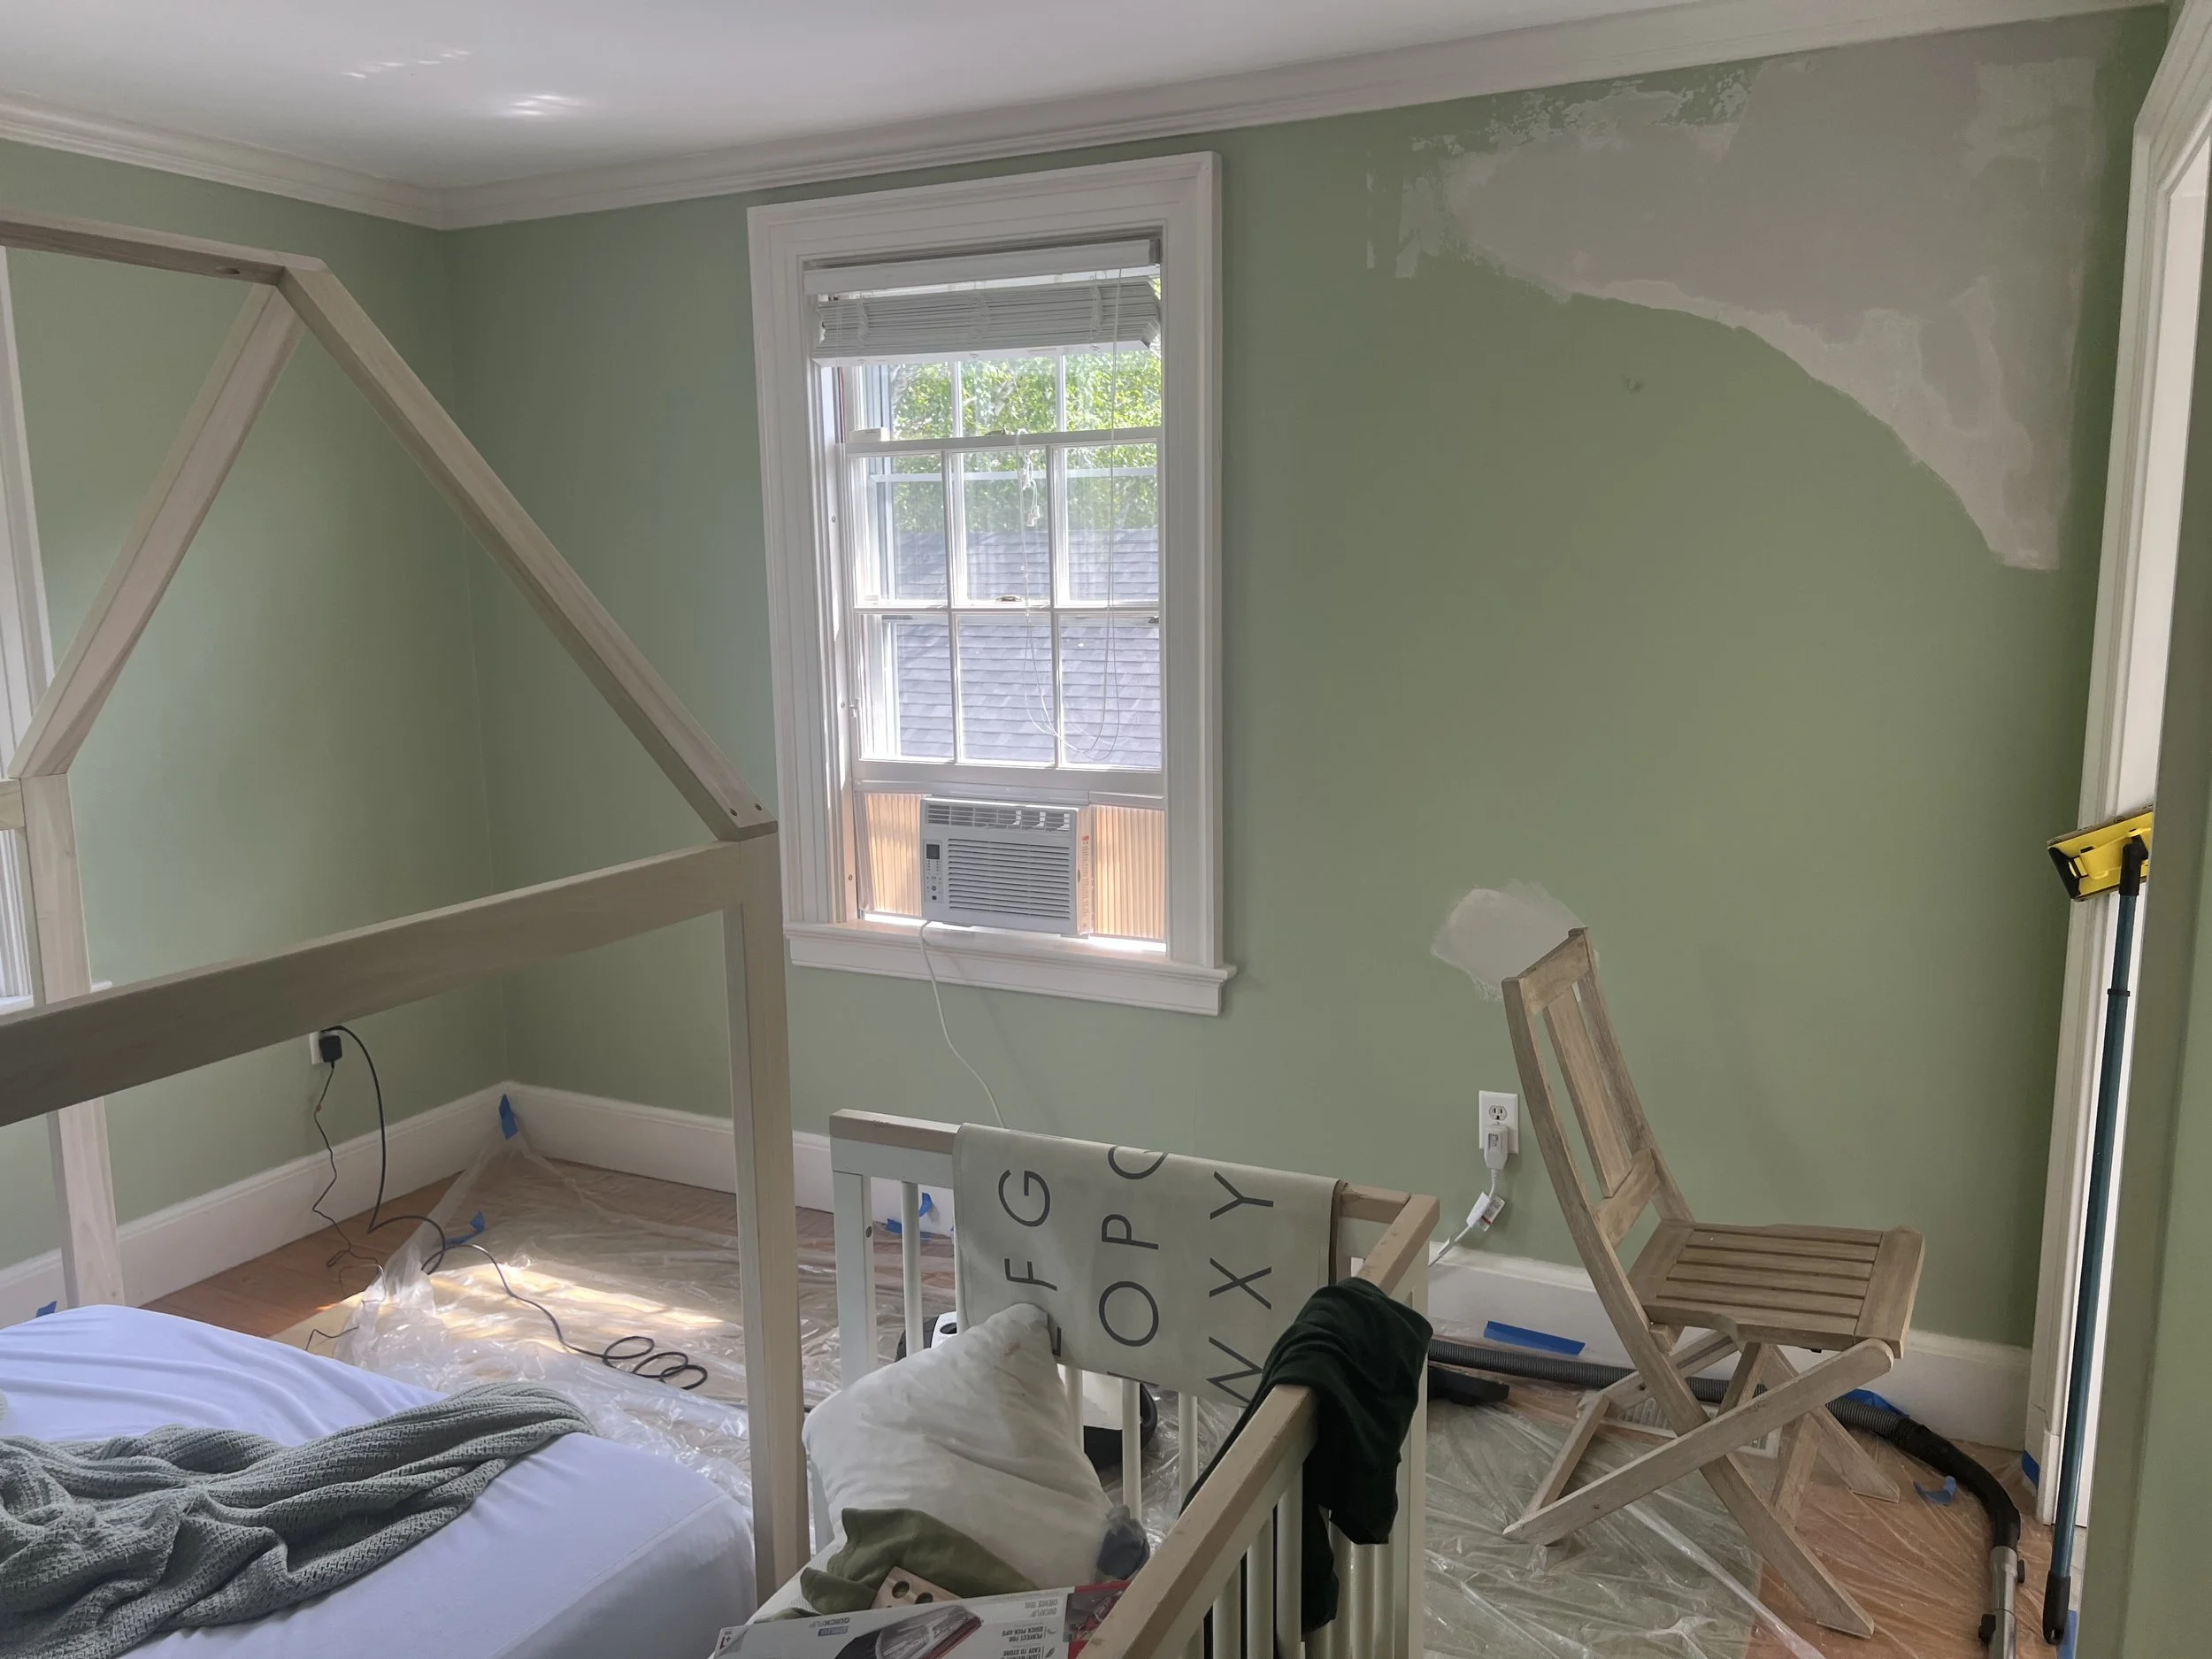
This wasn’t a dramatic transformation — no collapsed walls, no structural failures, no cinematic before-and-after. It was pretty uneventful work: patient, repetitive, strangely satisfying. Each patch restored a little dignity to the house, erasing a few decades of casual neglect without erasing its character.
What stands out most is how solid this place really is. Grandview doesn’t move. It doesn’t bow or settle. It’s the rare kind of structure built by people who expected it to outlast them — and it has. The least I can do is treat it with the same respect.
As each wall is repaired and restored, it feels like it can breathe again. Smooth, clean, unscarred — ready for a fresh coat of paint, and maybe a few new nail holes. But this time, we’ll think twice before driving them in.